Scratch build: Voisin III LAS 1/72

9 years 3 months ago #99
by Stevef
Scratch build: Voisin III LAS 1/72 was created by Stevef
Evening All,
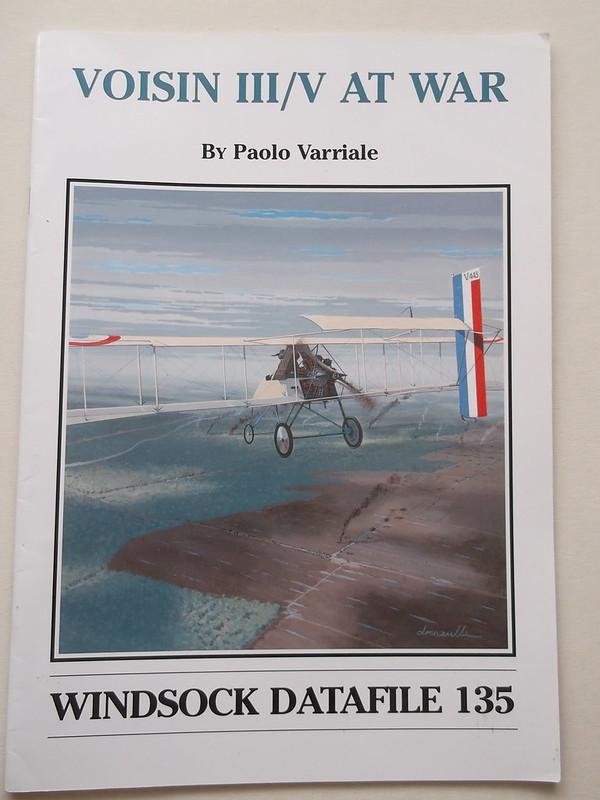
I have had a severe attack of pusher withdrawal symptoms recently: time to start another one! This will be a French design but I will finish it in RNAS markings. Voisin machines were very numerous during the first part of WW1 as they were employed by French, British and Italian air forces, some were sent to Russia and others were built there, so it was an important allied type. As it is a pusher it is seriously under-represented in the kit market: there is a vacuform kit by Flashback but I will try to show how to make one from scratch using plastic card and florists wire. I am going to cheat a little because I have acquired from Epeeman, (Dave Bardo), a spare rotary engine from a Roden kit which I will modify to represent the Salmson of the Voisin. I suppose this is the scratch builder's version of an aftermarket part. I will be using genuine aftermarket parts in the form of a set of Eduard PE wire wheels: my first experience of this medium. The plans will come from the DataFile no 135.
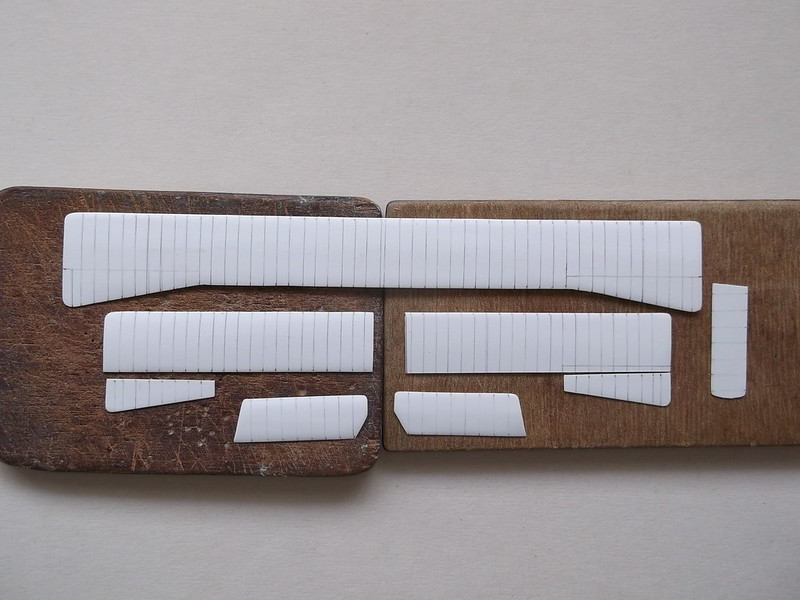
I started by bending some 30 thou plastic card in a piece of drain pipe which had been plugged at one end. ( I have to thank Stevehed on Airfix Tribute Forum for this idea). I placed the card in the pipe and held it with a wooden spoon handle while I poured in boiling water. After 10 seconds I drained out the hot water and poured in cold water. The card was then suitably bent so that I could cut out the wing blanks. I also cut out some ailerons and horizontal tail stabilisers, and a rudder. I have marked these in pencil to show where the ribs will be added in the form of 10 x 20 thou Evergreen strip.
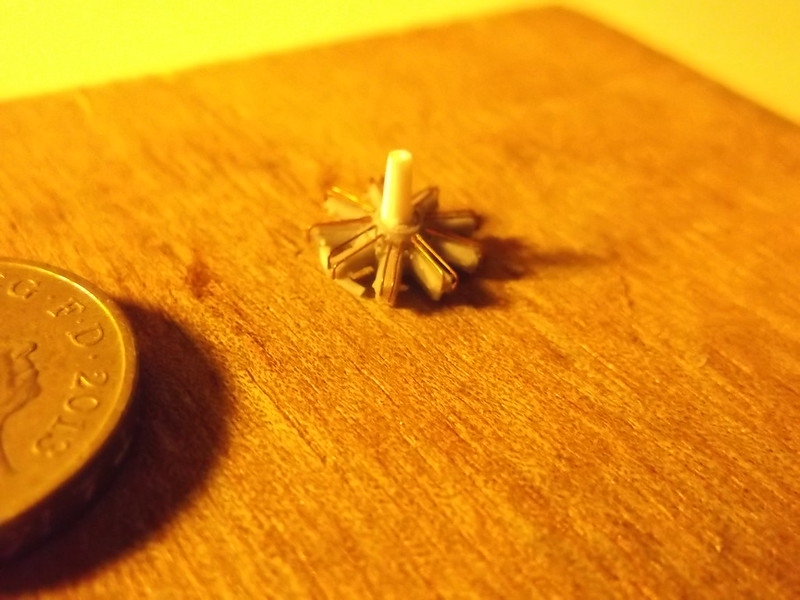
The engine looked like this:
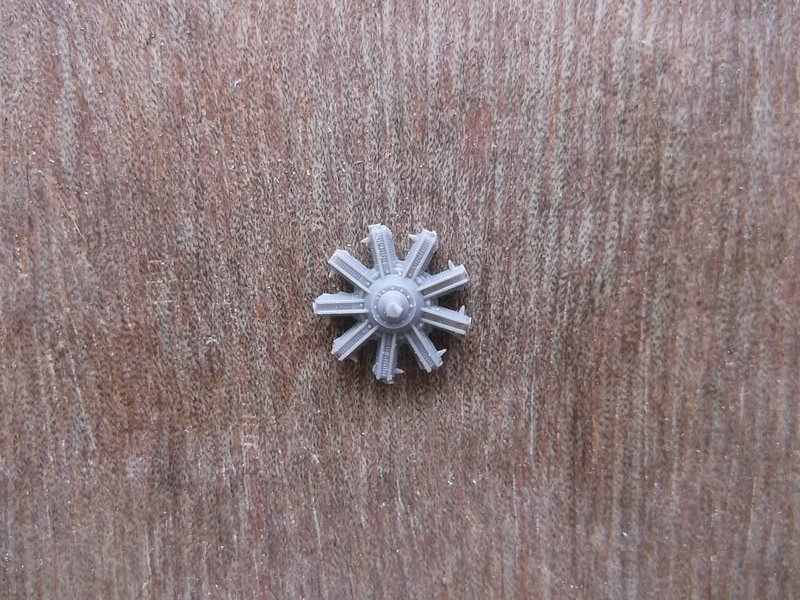
so the first change was to get rid of those awful moulded push rods and replace them with some new ones from thin copper wire.

An exhaust pipe was made from plastic rod and glued to the rear of the engine:
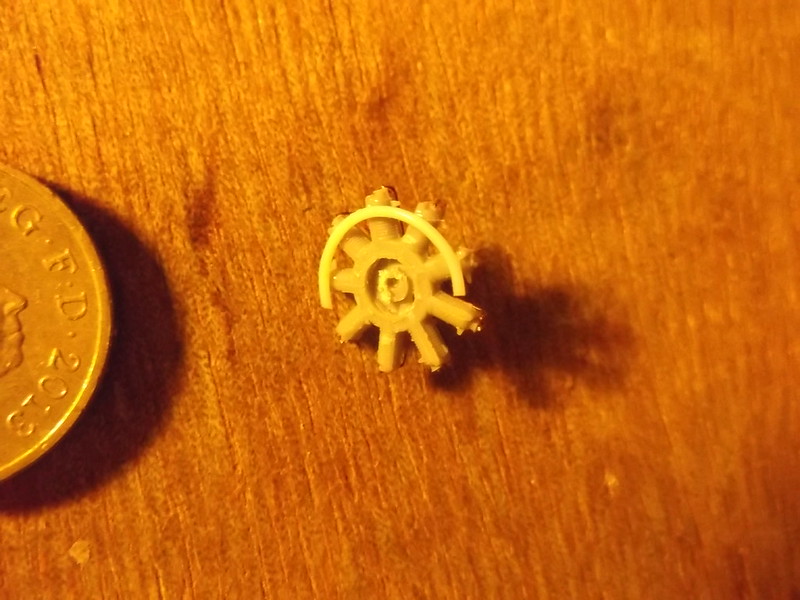
and finally an extended drive shaft also made from thick rod which had been filed to shape and glued to the front.
More to follow.
Thanks for looking.
Stevef.
I have had a severe attack of pusher withdrawal symptoms recently: time to start another one! This will be a French design but I will finish it in RNAS markings. Voisin machines were very numerous during the first part of WW1 as they were employed by French, British and Italian air forces, some were sent to Russia and others were built there, so it was an important allied type. As it is a pusher it is seriously under-represented in the kit market: there is a vacuform kit by Flashback but I will try to show how to make one from scratch using plastic card and florists wire. I am going to cheat a little because I have acquired from Epeeman, (Dave Bardo), a spare rotary engine from a Roden kit which I will modify to represent the Salmson of the Voisin. I suppose this is the scratch builder's version of an aftermarket part. I will be using genuine aftermarket parts in the form of a set of Eduard PE wire wheels: my first experience of this medium. The plans will come from the DataFile no 135.
I started by bending some 30 thou plastic card in a piece of drain pipe which had been plugged at one end. ( I have to thank Stevehed on Airfix Tribute Forum for this idea). I placed the card in the pipe and held it with a wooden spoon handle while I poured in boiling water. After 10 seconds I drained out the hot water and poured in cold water. The card was then suitably bent so that I could cut out the wing blanks. I also cut out some ailerons and horizontal tail stabilisers, and a rudder. I have marked these in pencil to show where the ribs will be added in the form of 10 x 20 thou Evergreen strip.
The engine looked like this:
so the first change was to get rid of those awful moulded push rods and replace them with some new ones from thin copper wire.
An exhaust pipe was made from plastic rod and glued to the rear of the engine:
and finally an extended drive shaft also made from thick rod which had been filed to shape and glued to the front.
More to follow.
Thanks for looking.
Stevef.
Please Log in to join the conversation.
- Clive Creer
-

- Offline
- Administrator
-

Less
More
- Posts: 35
- Thank you received: 2
9 years 3 months ago #100
by Clive Creer
I love the smell of Tamiya Extra Thin in the morning!
Replied by Clive Creer on topic Scratch build: Voisin III LAS 1/72
Steve, great to see yet another project coming from your stable! Just one small question, why have the photos turned very yellow in the last 3 images?
I love the smell of Tamiya Extra Thin in the morning!
Please Log in to join the conversation.
9 years 3 months ago #101
by Stevef
Replied by Stevef on topic Scratch build: Voisin III LAS 1/72
Clive,
The reason for the change in colour was because of the change in light. I took the photo of the DataFile in natural light but the others were taken in the evening under my table-top lamp.
The reason for the change in colour was because of the change in light. I took the photo of the DataFile in natural light but the others were taken in the evening under my table-top lamp.
Please Log in to join the conversation.
Time to create page: 0.117 seconds
- You are here:
-
Home

-
Forum
-
Show & Tell
-
Aircraft
- Scratch build: Voisin III LAS 1/72