Deutsche Flugzeug Werke (DFW) Mars

2 years 1 month ago #450
by Stevef
Deutsche Flugzeug Werke (DFW) Mars was created by Stevef
I am breaking one of my rules for modelling - not to run two projects simultaneously - because the former owner of the site mentioned above passed away earlier this year and they are running a GB in his memory. I wish to participate in the GB but because my current project (Short S38/Hibernia) does not meet the GB criteria on two grounds - it is not WW1, and it is already started - I will begin another project which is suitable. I will be slow at first as I want to finish the Short, but I think that I can complete the GB subject well before the deadline.
The subject for the GB is the Deutsche Flugzeug Werke (DFW) Mars. This machine came in one of two variants: a monoplane and a biplane - mine will be a biplane. Both were two seaters and were intended for reconnaissance. They entered service prior to the outbreak of hostilities in 1914 but saw service in the early months of the conflict and so meet the criteria for the GB.
I have made a start by gluing two pieces of basswood (lime) together which will be shaped to make moulds for the fuselage.
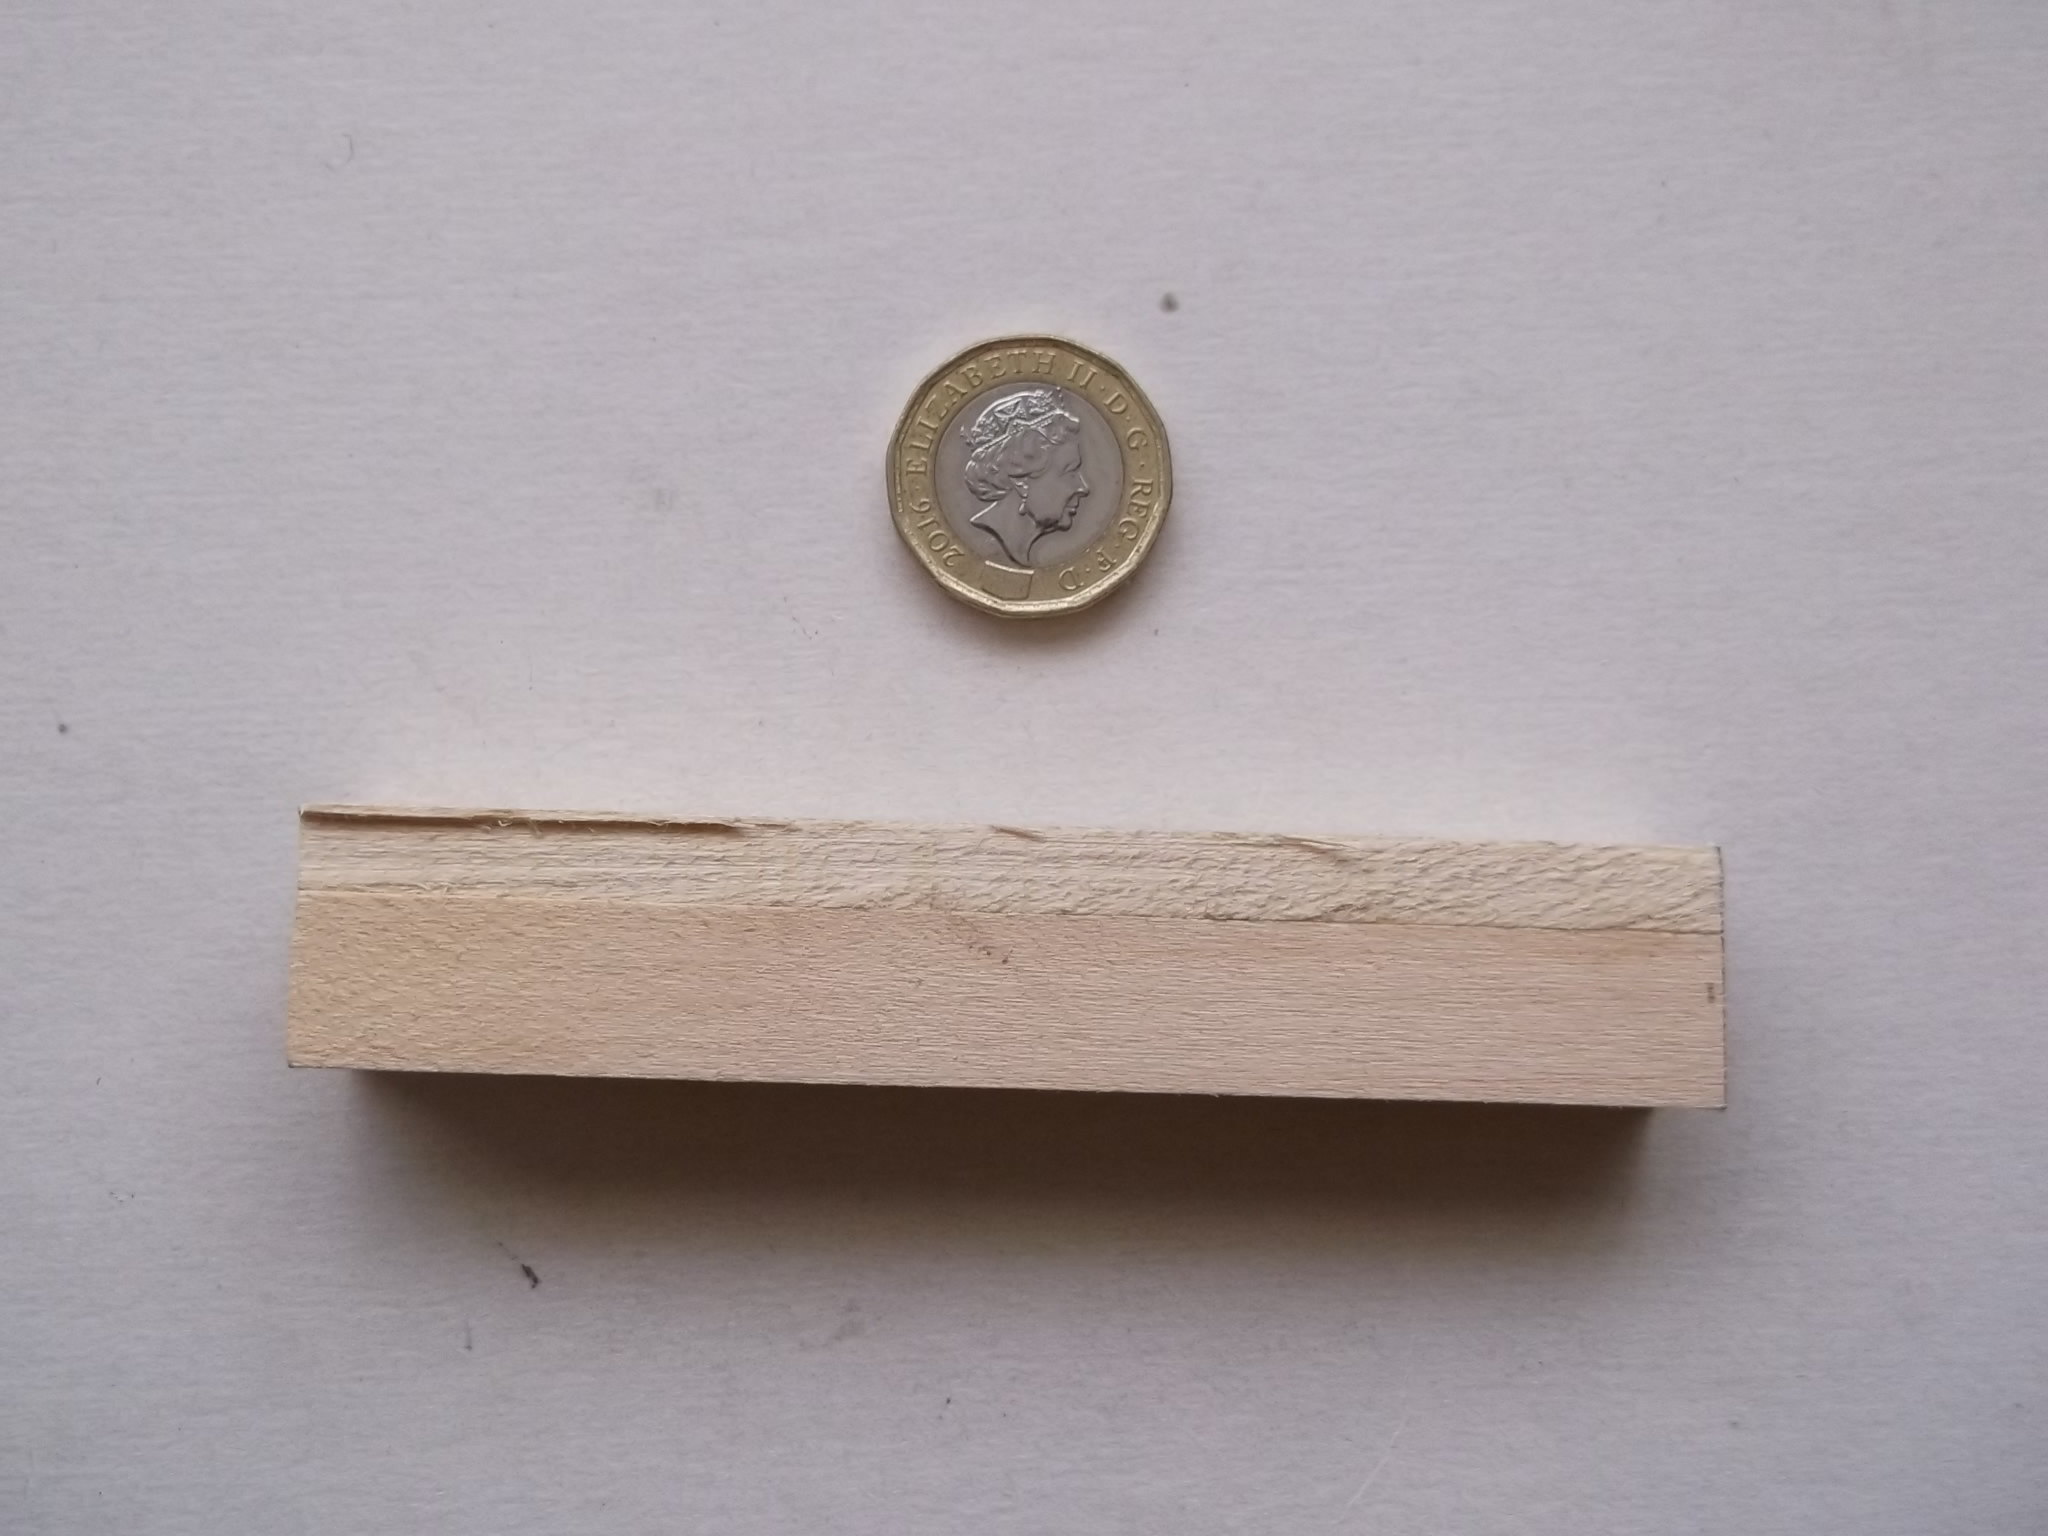
While the glue is setting I can proceed further with the Short project!
Thanks for looking.
Stevef.
The subject for the GB is the Deutsche Flugzeug Werke (DFW) Mars. This machine came in one of two variants: a monoplane and a biplane - mine will be a biplane. Both were two seaters and were intended for reconnaissance. They entered service prior to the outbreak of hostilities in 1914 but saw service in the early months of the conflict and so meet the criteria for the GB.
I have made a start by gluing two pieces of basswood (lime) together which will be shaped to make moulds for the fuselage.
While the glue is setting I can proceed further with the Short project!
Thanks for looking.
Stevef.
Please Log in to join the conversation.
2 years 1 month ago #451
by Stevef
Replied by Stevef on topic Deutsche Flugzeug Werke (DFW) Mars
I am still working on the Africa/Hibernia/Short S 37 but I have also spent some time working on the DFW Mars Here is an update on progress with that project.
I carved the fuselage male mould and cut a female mould from plywood. The two fuselage halves were plunge moulded from 30 thou plastic card:

The moulds were cut from the card, and I have also cut out the wing blanks. The upper wing was swept back so I have had to cut that in two pieces which I will join together later. I have marked in pencil where the ribs will be cemented later:

Thanks for looking.
Stevef.
I carved the fuselage male mould and cut a female mould from plywood. The two fuselage halves were plunge moulded from 30 thou plastic card:
The moulds were cut from the card, and I have also cut out the wing blanks. The upper wing was swept back so I have had to cut that in two pieces which I will join together later. I have marked in pencil where the ribs will be cemented later:
Thanks for looking.
Stevef.
Please Log in to join the conversation.
2 years 3 days ago #455
by Stevef
Replied by Stevef on topic Deutsche Flugzeug Werke (DFW) Mars
Evening All,
Now that the S38/HMS Hibernia is finished I am returning to the DFW Mars build. I have glued 10 x 20 thou strip on to the wing blanks to represent ribs, and have given them a preliminary sanding but I have still got to add Mr Surfacer to smooth out the edges. This shows the strip as applied but before sanding:

Above is the lower wing and below the upper wing halves:

I cut out the openings for the cockpits and inserted 30 thou plastic card strips to the inside of the front fuselage halves. The latter will provide a better anchor for the exhaust pipes which will be added at a later stage:

On the outside of the front fuselage I cemented small pieces of 30 x 40 strip to represent cooling louvres. I glued the pieces of strip in the correct places and then sanded off the leading edges to create a curved half-rounded section:

The cockpit details were simple for two reasons: the original cockpits would also have been simple - just wicker seats and a control wheel and rudder bar, and some simple instruments. The second reason is that I could not find any details of what had been there so I had to guess what things looked like. In any event very little will be seen on the finished model so there was no need to worry too much. Having joined the fuselage halves I removed a small section from the nose and cut a piece of 60 thou card which replaced the original nose. I did this because I wanted a frim location for the propellor shaft later and a slightly more angular nose:

I have also cut a slot in the rear fuselage to take the horizontal tail surface later.
The cockpits of the Mars had bulges in the top of the fuselage. This was because the fuselage was very narrow and the shoulders of the crew would have been very cramped if extra room had not been provided. To achieve the bulged sections I have cemented two curved pieces of 30 thou card over the apatures in the fuselage - these extend down the sides so that I can shape them:

More to come later. In the meantime, thanks for looking.
Stevef.
Now that the S38/HMS Hibernia is finished I am returning to the DFW Mars build. I have glued 10 x 20 thou strip on to the wing blanks to represent ribs, and have given them a preliminary sanding but I have still got to add Mr Surfacer to smooth out the edges. This shows the strip as applied but before sanding:
Above is the lower wing and below the upper wing halves:
I cut out the openings for the cockpits and inserted 30 thou plastic card strips to the inside of the front fuselage halves. The latter will provide a better anchor for the exhaust pipes which will be added at a later stage:
On the outside of the front fuselage I cemented small pieces of 30 x 40 strip to represent cooling louvres. I glued the pieces of strip in the correct places and then sanded off the leading edges to create a curved half-rounded section:
The cockpit details were simple for two reasons: the original cockpits would also have been simple - just wicker seats and a control wheel and rudder bar, and some simple instruments. The second reason is that I could not find any details of what had been there so I had to guess what things looked like. In any event very little will be seen on the finished model so there was no need to worry too much. Having joined the fuselage halves I removed a small section from the nose and cut a piece of 60 thou card which replaced the original nose. I did this because I wanted a frim location for the propellor shaft later and a slightly more angular nose:
I have also cut a slot in the rear fuselage to take the horizontal tail surface later.
The cockpits of the Mars had bulges in the top of the fuselage. This was because the fuselage was very narrow and the shoulders of the crew would have been very cramped if extra room had not been provided. To achieve the bulged sections I have cemented two curved pieces of 30 thou card over the apatures in the fuselage - these extend down the sides so that I can shape them:
More to come later. In the meantime, thanks for looking.
Stevef.
Please Log in to join the conversation.
1 year 11 months ago #456
by Stevef
Replied by Stevef on topic Deutsche Flugzeug Werke (DFW) Mars
Evening All,
After the curved plastic additions to the fuselage had set overnight I was able to drill holes where the cockpit openings would be and enlarge them with half-round and round files. I also needed to add quite a lot of filler to the bottoms of the fuselage additions and especially the rear of the rear cockpit opening to smooth everything and get a more accurate profiles. The coaming strips were added from 20 thou rod. I also inserted the horizontal tail surfaces into the slot that I had cut in the rear fuselage:


The wing and aileron ribs have been filled with Mr Surfacer 1000 and sanded to profile:

The next step will be to add the lower wing halves to the fuselage and fill and clean the joints, and join the upper wing halves so that painting can begin.
Thanks for looking.
Stevef.
After the curved plastic additions to the fuselage had set overnight I was able to drill holes where the cockpit openings would be and enlarge them with half-round and round files. I also needed to add quite a lot of filler to the bottoms of the fuselage additions and especially the rear of the rear cockpit opening to smooth everything and get a more accurate profiles. The coaming strips were added from 20 thou rod. I also inserted the horizontal tail surfaces into the slot that I had cut in the rear fuselage:
The wing and aileron ribs have been filled with Mr Surfacer 1000 and sanded to profile:
The next step will be to add the lower wing halves to the fuselage and fill and clean the joints, and join the upper wing halves so that painting can begin.
Thanks for looking.
Stevef.
Please Log in to join the conversation.
1 year 10 months ago #457
by Stevef
Replied by Stevef on topic Deutsche Flugzeug Werke (DFW) Mars
Evening All,
After I had joined the upper wing halves I succeeded in painting the model - the white took several coats as I had thinned the paint and had to keep applying layers to hide the filler! The black of the fuselage by contrast was much easier, but because I do not like painting the whole process seemed to take a very long time:


I cemented the lower wing to fuselage struts in place before I attempted to fit the upper wing. The fuel tank was attached to the upper wing but fixing the upper wing to the lower wing and fuselage presented more of a challenge than some biplanes because the inter-plane struts had a large angle of stagger. However a simple pair of card jigs solved the problem by supporting the upper wing while I inserted the outboard struts:

The cabane struts were not painted prior to fitting because I forgot to! They were cut to the required length from shaped Evergreen strip as were the other struts. I used 25 thou rod for the wing skids:

The struts underneath the tail were added from 30 thou rod. The main undercarriage structure was made from 20 x 30 strip, filed to aerofoil shape and the thinner inner bracing was made from 25 thou rod. This was assembled by attaching the main lags first and then inserting the rod and gently pulling the structure together and supporting ithe legs with small strips of wood while the cement set. The result looks like this:

There are more details to add before I can rig the model but at last I can see the end in sight.
Thanks for looking.
Stevef.
After I had joined the upper wing halves I succeeded in painting the model - the white took several coats as I had thinned the paint and had to keep applying layers to hide the filler! The black of the fuselage by contrast was much easier, but because I do not like painting the whole process seemed to take a very long time:
I cemented the lower wing to fuselage struts in place before I attempted to fit the upper wing. The fuel tank was attached to the upper wing but fixing the upper wing to the lower wing and fuselage presented more of a challenge than some biplanes because the inter-plane struts had a large angle of stagger. However a simple pair of card jigs solved the problem by supporting the upper wing while I inserted the outboard struts:
The cabane struts were not painted prior to fitting because I forgot to! They were cut to the required length from shaped Evergreen strip as were the other struts. I used 25 thou rod for the wing skids:
The struts underneath the tail were added from 30 thou rod. The main undercarriage structure was made from 20 x 30 strip, filed to aerofoil shape and the thinner inner bracing was made from 25 thou rod. This was assembled by attaching the main lags first and then inserting the rod and gently pulling the structure together and supporting ithe legs with small strips of wood while the cement set. The result looks like this:
There are more details to add before I can rig the model but at last I can see the end in sight.
Thanks for looking.
Stevef.
Please Log in to join the conversation.
1 year 10 months ago #458
by Stevef
Replied by Stevef on topic Deutsche Flugzeug Werke (DFW) Mars
Evening All,
The last parts have been added to the Mars and I have rigged it with rolled copper wire as per normal for my small scale models.
The axles for the wheels were cut from a paper clip and the wheels CA'd to the ends of the axles after the axles had been passed through holes drilled in the undercarriage legs. The small tail incidence wheel was made from thin rod wrapped around a paintbrush handle and immersed in very hot water, with the spokes of the wheel cut from 10 x 20 thou strip. The model was rigged over several days because I either lacked the time or energy to complete it more rapidly. Finally I glued the propellor to the nose:


Thanks for looking.
Stevef.
The last parts have been added to the Mars and I have rigged it with rolled copper wire as per normal for my small scale models.
The axles for the wheels were cut from a paper clip and the wheels CA'd to the ends of the axles after the axles had been passed through holes drilled in the undercarriage legs. The small tail incidence wheel was made from thin rod wrapped around a paintbrush handle and immersed in very hot water, with the spokes of the wheel cut from 10 x 20 thou strip. The model was rigged over several days because I either lacked the time or energy to complete it more rapidly. Finally I glued the propellor to the nose:
Thanks for looking.
Stevef.
Please Log in to join the conversation.
Time to create page: 0.146 seconds
- You are here:
-
Home

-
Forum
-
Work in progress
-
Airfield
- Deutsche Flugzeug Werke (DFW) Mars